VIỆN CÔNG NGHỆ THÔNG TIN VÀ TRUYỀN THÔNG ITPLUS
ITPLUS INSTITUTE OF INFORMATION AND COMMUNICATION TECHNOLOGY

PUSH NOTIFICATION TỚI ỨNG DỤNG VỚI FIREBASE CLOUD MESSAGING
Giới thiệu:
Tại sự kiện Google I/O tổ chức tháng 5 năm 2016. Google giới thiệu Firebase – một nền tảng đám mây với rất nhiều tính năng nổi bật cho các lập trình viên Mobile như: Firebase Analytics, Firebase Cloud Messaging, Firebase Auth, Realtime Database, Firebase Storage…
Firebase Cloud Messaging (FCM) là một dịch vụ miễn phí của Google. Thông qua FCM, nhà phát triển ứng dụng có thể gửi thông điệp một cách nhanh chóng, an toàn tới các thiết bị cài đặt ứng dụng của họ.
Bài viết này sẽ giúp bạn hiểu và sử dụng FCM để gửi Notification tới các ứng dụng mà bạn đã phát triển và được cài đặt bởi người sử dụng.
1. Khi nào lập trình viên cần sử dụng Firebase Cloud Messaging?
Vấn đề đặt ra là khi nào các lập trình viên cần sử dụng FCM? Như các bạn đã biết, khi ứng dụng được đăng lên CH Play và người dùng cài đặt. Lập trình viên thường gặp nhiều khó khăn mỗi khi cần thông báo những thông điệp như: ứng dụng này vừa cập nhật dữ liệu mới, ứng dụng nâng cấp phiên bản, có thông tin khuyến mại mới v.v…tới người dùng. Những thông báo này là rất cần thiết để nhà phát triển tương tác với người dùng cuối.
2. Firebase push notification hoạt động như thế nào?
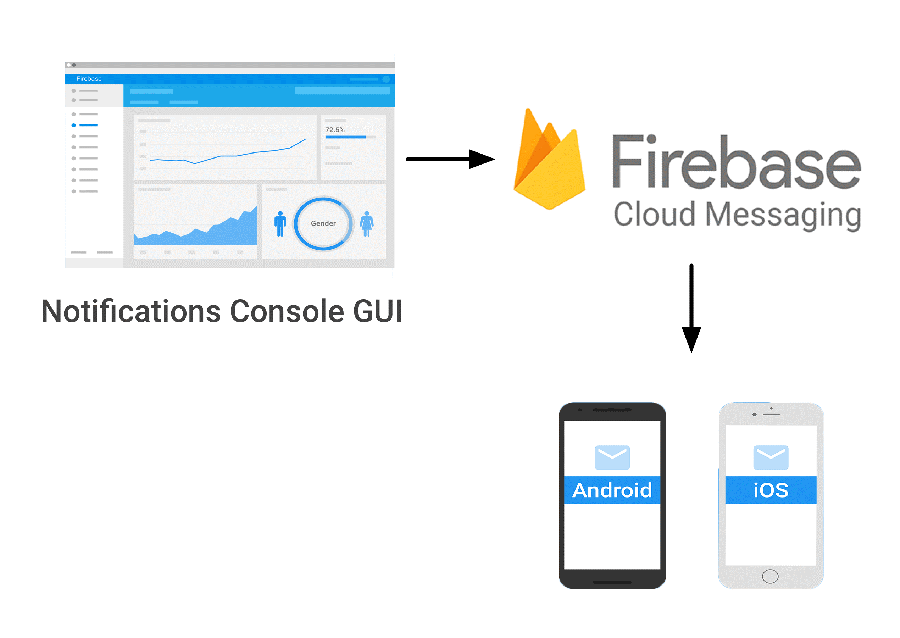
Hình trên mô tả luồng hoạt động của Firebase Cloud Messaging. Thông qua giao diện Notification Console GUI, lập trình viên (LTV) soạn thảo tin nhắn cần thông báo tới người sử dụng ứng dụng. Firebase sẽ chịu trách nhiệm gửi tới các thiết bị cài đặt ứng dụng.
Như vậy, để các thiết bị có thể nhận được thông điệp, Firebase phải xác đinh thông qua một mã gọi là Token khi thiết bị cài đặt ứng dụng lần đầu tiên.
3. Các bước thực hiện
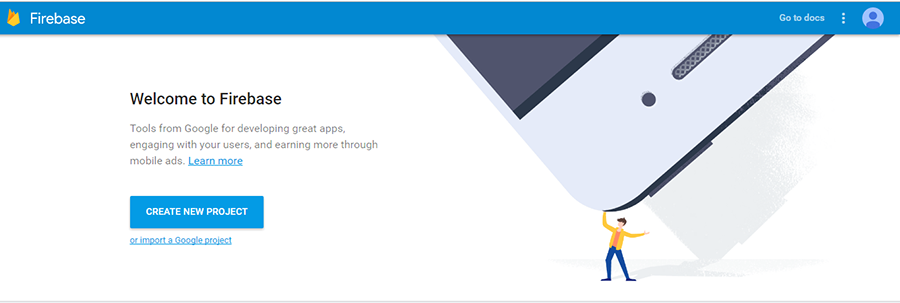
Bước 1: Tạo mới project hoặc import project đã tồn tại
Các bạn truy cập vào trang https://firebase.google.com/ và tạo mới 1 project.
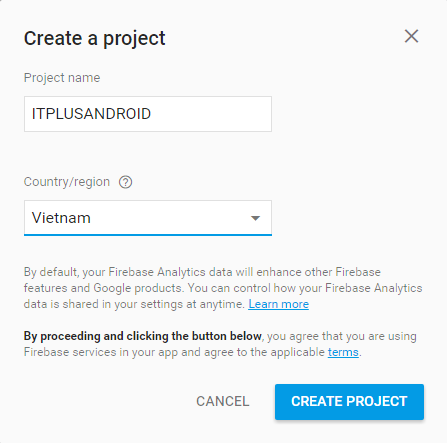
Bạn đặt tên project và chọn quốc gia:
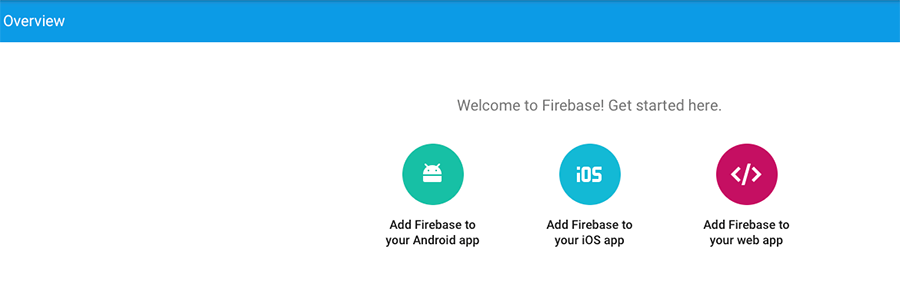
Sau đó, lựa chọn “Add Firebase to your Android app”
Điền package name ứng dụng của bạn. (nếu bạn không nhớ chính xác thì cần xem trong file AndroidManifest.xml)
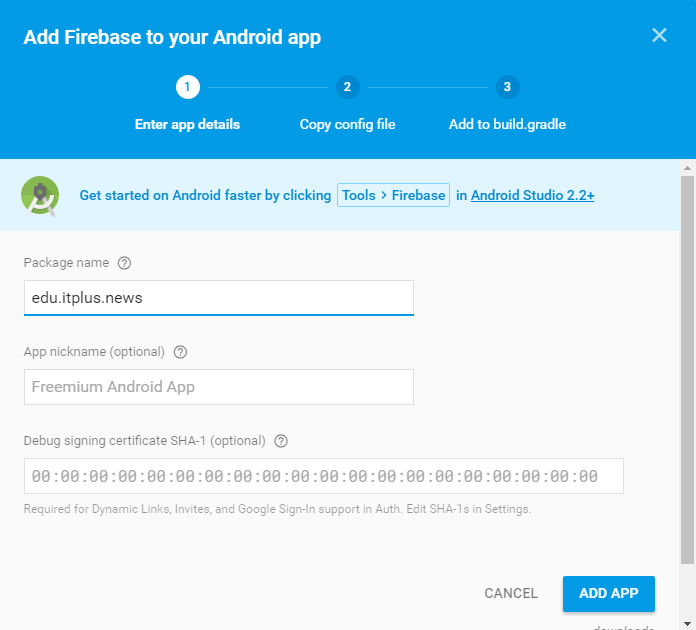
Cuối cùng là click vào nút ADD APP và download google-services.json về máy.
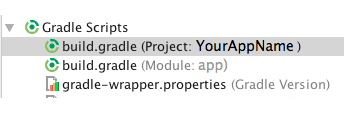
Bước 2: Thêm gói google-services.json vào project
Bước này bạn cần copy gói google-services.json vừa download về máy vào thư mục app trong project.
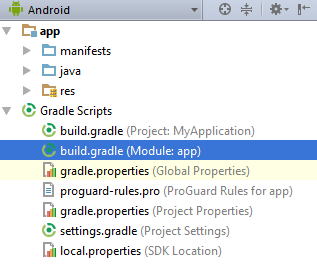
Bước 3: Cấu hình gradle file
Mở project với Android Studio và cấu hình file build.gradle để sử dụng Google services plugin
Thêm vào dòng:
buildscript {
dependencies {
classpath 'com.google.gms:google-services:3.0.0' // Add this line
}
}
Thêm thư viện Firebase như sau (chú ý dòng tô màu vàng):
dependencies {
compile fileTree(include: ['*.jar'], dir: 'libs')
testCompile 'junit:junit:4.12'
compile 'com.android.support:appcompat-v7:24.2.1'
compile 'com.android.support:design:24.2.1'
compile 'com.google.firebase:firebase-core:10.0.1'
compile 'com.google.firebase:firebase-messaging:9.2.0'
compile 'com.google.android.gms:play-services:10.0.1'
}
apply plugin: 'com.google.gms.google-services'
Chú ý: nếu gói firebase 9.2.0 bị lỗi, bạn cần vào SDK Manager để cập nhập phiên bản google services.
Bước 4: Thêm dịch vụ tới project.
Add a service that extends FirebaseMessagingService
Để có thể nhận được nội dung thông điệp gửi từ Firebase, ứng dụng của bạn cần thêm một dịch vụ bằng cách extends FirebaseMessagingService.
public class MyFirebaseMessagingService extends FirebaseMessagingService {
private static final String TAG = "FCM Service";
@Override public void onMessageReceived(RemoteMessage remoteMessage) {
// TODO: Handle FCM messages here.
// If the application is in the foreground handle both data and notification messages here.
// Also if you intend on generating your own notifications as a result of a received FCM
// message, here is where that should be initiated.
Log.e(TAG, "From: " + remoteMessage.getFrom());
Log.e(TAG, "Notification Message Body: " + remoteMessage.getNotification().getBody());
// Create Notification
Intent intent = new Intent(this, MainActivity.class);
intent.addFlags(Intent.FLAG_ACTIVITY_CLEAR_TOP);
PendingIntent pendingIntent = PendingIntent.getActivity(this, 1410, intent, PendingIntent.FLAG_ONE_SHOT);
NotificationCompat.Builder notificationBuilder = new NotificationCompat.Builder(this)
.setSmallIcon(R.drawable.ic_firebase) .setContentTitle(remoteMessage.getNotification().getTitle()) .setContentText(remoteMessage.getNotification().getBody())
.setAutoCancel(true).setContentIntent(pendingIntent);
NotificationManager notificationManager (NotificationManager)getSystemService(Context.NOTIFICATION_SERVICE);
notificationManager.notify(1410, notificationBuilder.build());
}
}
Đăng ký Service trong AndroidManifest.xml file.
<service android:name=".MyFirebaseMessagingService">
<intent-filter><action android:name="com.google.firebase.MESSAGING_EVENT" /></intent-filter>
</service>
Add a service that extends FirebaseInstanceIdService
Firebase gửi notification tới các thiết bị cài đặt ứng dụng thông qua việc xác định một Token. Mỗi một thiết bị sẽ nhận được từ Firebase một Token không trùng nhau. LTV có thể gửi Token này lên server của mình để quản lý và sau này có thể Notification đến riêng các Token mà mình mong muốn, thay vì tới tất cả các thiết bị.
public class FirebaseIDService extends FirebaseInstanceIdService {
private static final String TAG = "FirebaseIDService";
@Override public void onTokenRefresh() {
// Get updated InstanceID token.
String refreshedToken = FirebaseInstanceId.getInstance().getToken();
Log.e(TAG, "Refreshed token: " + refreshedToken);
// TODO: Implement this method to send any registration to your app's servers. sendRegistrationToServer(refreshedToken);
}
/**
* Persist token to third-party servers.
* <p/>
* Modify this method to associate the user's FCM InstanceID token with any server-side account
* maintained by your application.
*
* @param token The new token.
*/
private void sendRegistrationToServer(String token) {
// Add custom implementation, as needed.
//Gui token len server cua LTV o day
}
}
Cấu hình trong AndroidManifest.xml
<service android:name=".FirebaseIDService">
<intent-filter>
<action android:name="com.google.firebase.INSTANCE_ID_EVENT" />
</intent-filter>
</service>
Bước 5: Gửi Notification tới các thiết bị cài đặt ứng dụng.
Vào lại project của bạn trên firebase.google.com và chọn menu Notifications
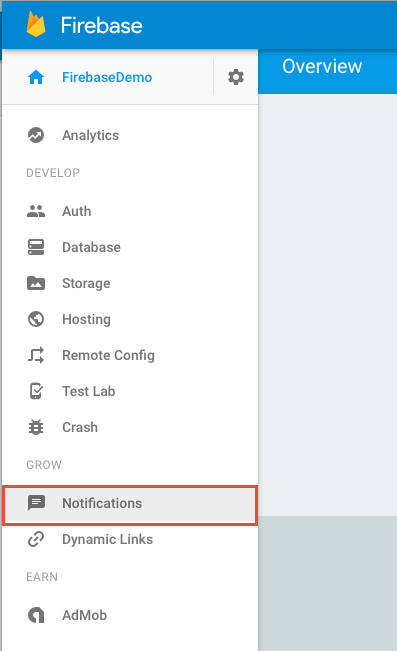
Chọn NEW MESSAGE và nhập các thông tin gồm message text, lable, title…
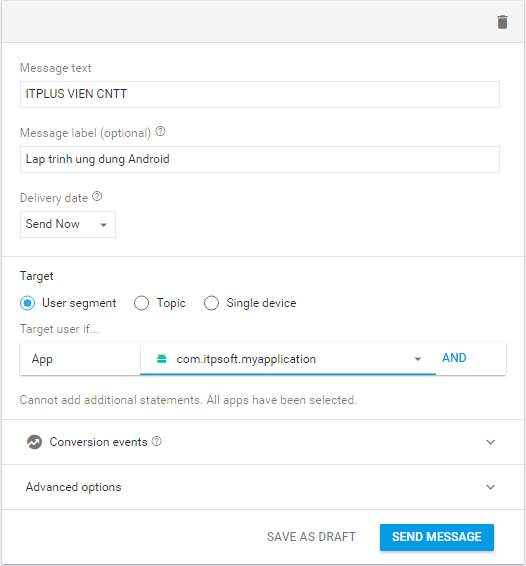
Để bắt đầu gửi, nhấn SEND MESSAGE.
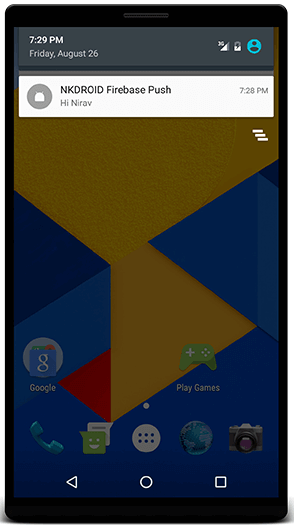
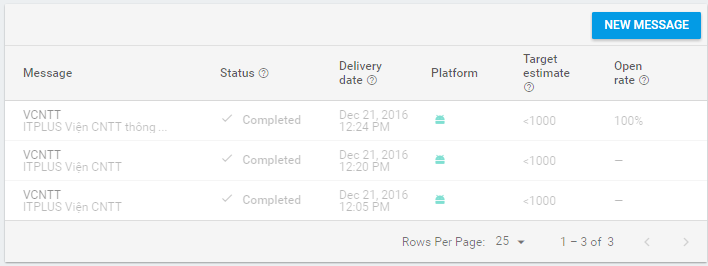
Trên hình là giao diện nhận Notification từ firebase và giao diện quản lý trạng thái tin nhắn sau khi đã được gửi.
Kết luận:
Trong bài hướng dẫn này, chúng ta đã biết cách gửi Notification tới các thiết bị cài đặt ứng dụng Android. Sử dụng FCM rất đơn giản và thuận tiện, các LTV cũng không cần mất thời gian xây dựng server riêng để quản lý. Hi vọng các LTV đã có thêm một giải pháp để tương tác với người dùng cuối khi họ sử dụng ứng dụng của mình.
Để hiểu rõ hơn về dịch vụ của Firebase, các bạn có thể tham khảo thêm tại: https://firebase.google.com/docs/notifications/
<Nguồn tham khảo: https://www.codementor.io>


.jpg)